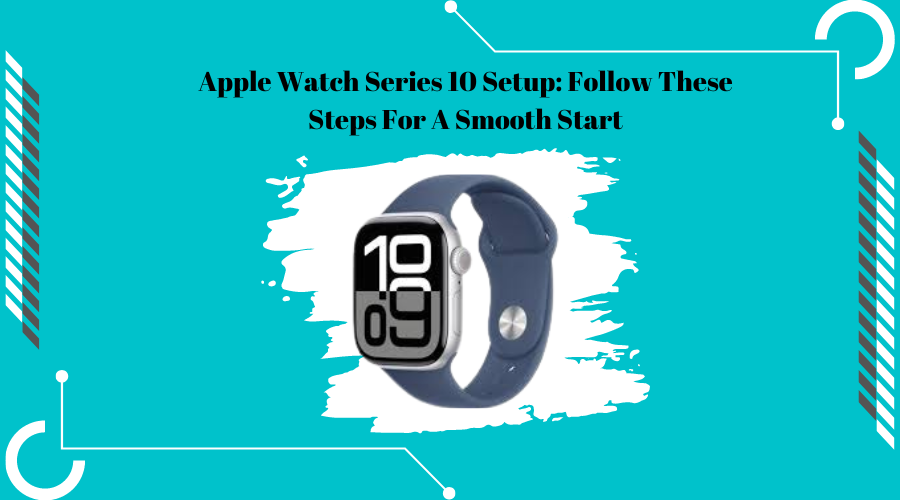
The curtain’s just lifted on the Apple Watch Series 10, another golden leaf in the story of smartwatch advancement. Apple, never ceasing to pioneer in wearable tech, is introducing the Series 10. Chock full of cutting-edge features plus enhancements, this model eyes to rewrite the script of the smartwatch journey.
Get ready with the Apple Watch Series 10 setup! First, open the box and see what’s inside. You’ve got the Series 10 watch, complete with the body and the band you picked. There’s also a MagSafe Charging Cable specific for your Apple Watch and a Power Adapter for connecting your cable to electricity. There’s some paperwork – setup instructions and safety notes to be precise. Make sure everything is there. It’s your first move towards a hassle-free Apple Watch Series 10 setup.
Let’s start and follow these steps for the Apple Watch Series 10 setup.
Apple Watch Series 10 Setup Guide
Step 1: Preparing Your iPhone
Preparing your iPhone before Apple Watch Series 10 setup, setting up your Apple Watch involves a few steps. They include using an iPhone XS (or a newer version) with iOS 17 and having a solid Wi-Fi connection. Remember, your iPhone needs to be fully charged. Also handy? Make sure your phone’s software is current. Just hop over to your Go to Settings > General > Software Update. There might be updated ready. Get your device on track! Another tip: A Wi-Fi-connected iPhone makes pairing smoother.
Step 2: Powering On Your Apple Watch
Turning on your Apple Watch Series 10 is easy. Just push and keep holding the side button. It’s right under the Digital Crown. Wait until the Apple symbol shows on the display. The startup might take a bit. When it’s on, you can start to connect it with your iPhone. This part is simple but super important. It makes sure your gadgets talk to each other.
Step 3: Starting the Pairing Process
Grab your iPhone, then find and open the Apple Watch app. Missing it? Get it from the App Store. Just hit Start Pairing inside the app. Your iPhone brings up a camera viewfinder. Now, place your iPhone above the Apple Watch to line up the watch’s screen with the viewfinder. As soon as they spot each other, a note shows up saying your Apple Watch is now paired. It’s a vital step, making that crucial first link between your Apple Watch and iPhone.
Step 4: Setting Up as New or Restoring from Backup
You will now be prompted to choose whether to set up your Apple Watch as a new device or restore it from a backup. If this is your first Apple Watch or you prefer a fresh start, select Set Up as New Apple Watch. If you’re upgrading from an older model, you might want to restore your settings and data from a previous backup. Choose Restore from Backup and select the most recent backup available. This option will help you maintain continuity in your apps and settings.
Step 5: Signing In with Your Apple ID
Next up, you’ll decide Apple Watch Series 10 Setup a new gadget or restoring it from a backup. Is this your first Apple Watch? Or maybe you like starting from scratch? Choose Set Up as New Apple Watch. Switching from an older model? You may want your old settings and data. Opt for Restore from Backup and pick the newest backup. This path keeps your apps and settings just like they were.
Step 6: Choosing Your Settings
Your Apple Watch Series 10 setup will prompt you to configure several settings. This includes enabling or disabling Location Services, which allows apps to use your location for personalized experiences. You’ll also be asked whether to share diagnostic and usage data with Apple. Additionally, you can set up Apple Pay if you wish to use your watch for contactless payments by adding your credit or debit card information. Adjusting these settings according to your preferences will tailor the watch’s functionality to your needs.
Step 7: Setting Up a Passcode
It’s key to set up a passcode for safety. The system will ask you to make a passcode with either four or six digits. This safeguards your private data. It’s also wise to activate wrist detection. When your watch isn’t worn, this feature locks it. This gives your device added security protection.

Customizing Your Watch Face
Loving your Apple Watch Series 10 setup means making it your own. Add zest to it by modifying the watch face to your liking. How do you do it? Just browse the Face Gallery on the Apple Watch app. There’s a bunch of watch faces; pick one that screams you. And the fun part? You can enhance it! Change colors, tweak the complications (also called widgets), and set other features. When you’re satisfied, click Add. Voila! You’ve got a personalized watch face on your Apple Watch, unique as you are, and more functional to boot.
Installing Apps
Let’s get your Apple Watch Series 10 Setup The first thing to do is get the apps that work for you. How? Head to the Watch app on your iPhone, click on the App Store and start browsing. Load up on apps. Use the My Watch tab to see what’s up and running on your watch. This way, your Apple Watch becomes a personal tool. It’s full of your favorites; be it health apps or those helping to get things done.
Syncing Music and Photos
Your Series 10 Apple Watch lets you move your iPhone’s songs and snapshots over. Here’s how. To move songs, open the Watch app. Next, tap on Music. Now, pick the playlists or albums to shift over. It’s a similar deal for photos. In the same Watch app, go to Photos and pick the album you’d like moved. This neat feature on your wristwatch ensures your top tunes and special moments are always handy.
Setting Up Health and Fitness Features
Want to get the most out of your Apple Watch Series 10 Setup? It’s a breeze! Fire up your iPhone and open up the Health app. Take a minute to set up your health profile. That way, your tracking is spot on. Itching to track your fitness? It’s simple, head to the Watch app and click on My Watch, then Workout. Boom! You’re set to keep an eye on your health stats and fitness fun in no time!
Exploring Additional Features
Check out the Apple Watch Series 10 – it’s got more features to make things better for you! Think quick help with the Emergency SOS function. A helpful detection of a fall that warns your emergency contacts. Plus, if you have watches for the family, you can control all of them through the Family Setup in the Watch app! These elements boost the usefulness of your Apple Watch.
Troubleshooting Common Apple Watch Series 10 Setup Issues
Setting up can be tricky, and you might face problems. Having trouble pairing your Apple Watch? Make sure Bluetooth is switched on for your iPhone and Apple Watch. A quick restart of the devices can often fix connection problems. If your Apple Watch won’t charge, double-check your MagSafe charger and cable for proper connection and no damage. Also, look for any debris in the watch’s charging port. Have syncing issues? Be sure your Apple Watch is close to your iPhone and both have Wi-Fi connected. Again, a restart might fix these syncing hitches.
Maximizing Your Apple Watch Series 10 Setup Experience
Getting your new Apple Watch Series 10 setup ready for use is just the beginning. Having fun by constantly tailoring your watch face to reflect your personality and suit your requirements is next. Take charge of notification settings in the Watch app, deciding which buzzes to get. Use Siri to give voice orders or ask questions straight from your wrist. Tweak and discover these aspects, and you’ll be an Apple Watch pro. It’ll feel like an essential element of your everyday routine.
Conclusion
All set to get your Apple Watch Series 10 going? Here’s how. Start by unwrapping it and making sure your iPhone is ready. Then move to personalize your watch display. Once done, dig into the cool extras. Follow these steps to the Apple Watch Series 10 Setup that your watch can make your day better. Stumble along the way? No stress. Use the problem-solving guide or ask for help from Apple. Make the most out of your new Apple Watch Series 10 daily!
For more information on the Apple Watch Series 10 Setup, visit Hyprmarket.
FAQs
How Do I Set Up My Apple Watch Series 10 for the First Time?
Power up your Apple Watch. Press and hold the side button. Keep your iPhone nearby. This should make the Apple Watch app pop up. Got it? Now, just do what the screen tells you. Match your devices, pick your language, get on Wi-Fi, and sign in. Simple right? You use your Apple ID for the sign-in.
What If My Apple Watch Series 10 Won’t Pair with My iPhone?
Ensure both devices are updated and Bluetooth is enabled. Restart both devices and try pairing again. If issues persist, make sure your iPhone isn’t paired with another watch, or reset your Apple Watch by holding the side button and Digital Crown.
Is the Apple Watch Series 10 Waterproof?
Sure, the Apple Watch Series 10 carries a WR50 water-resistant tag. This says it can bear being underwater for up to 50 meters. So, it’s good for swimming and similar water-based fun.
How Long Does the Battery Last on the Apple Watch Series 10?
With just one charge, the Apple Watch Series 10 can last for 18 hours! How you use it impacts the battery life. It benefits from upgraded tech that speeds up charging. Now you can fuel up fast and get back in action!
Can I Use My Apple Watch Series 10 Without an iPhone?
The Apple Watch Series 10 works great on its own. It plays music, tracks fitness. But, add an iPhone? It’s even better. You get notifications, app syncing, advanced features. All of it, fully integrated, with an iPhone.


